Now that you have set up your Custom Vision resources and gathered your credentials, it's time to work with the Jupyter Notebook in Azure ML Studio.
Configure the Jupyter Notebook
Go back to https://ml.azure.com and select (or create) a workspace.
Select Launch studio.
On the leftmost pane select Notebooks.
Click on the camera_trap_classification.ipynb notebook that we uploaded earlier.
Scroll down the notebook, and in the third code cell under the Azure Custom Vision Configuration heading, enter your endpoint, both keys and your prediction resource ID between the double quotes.
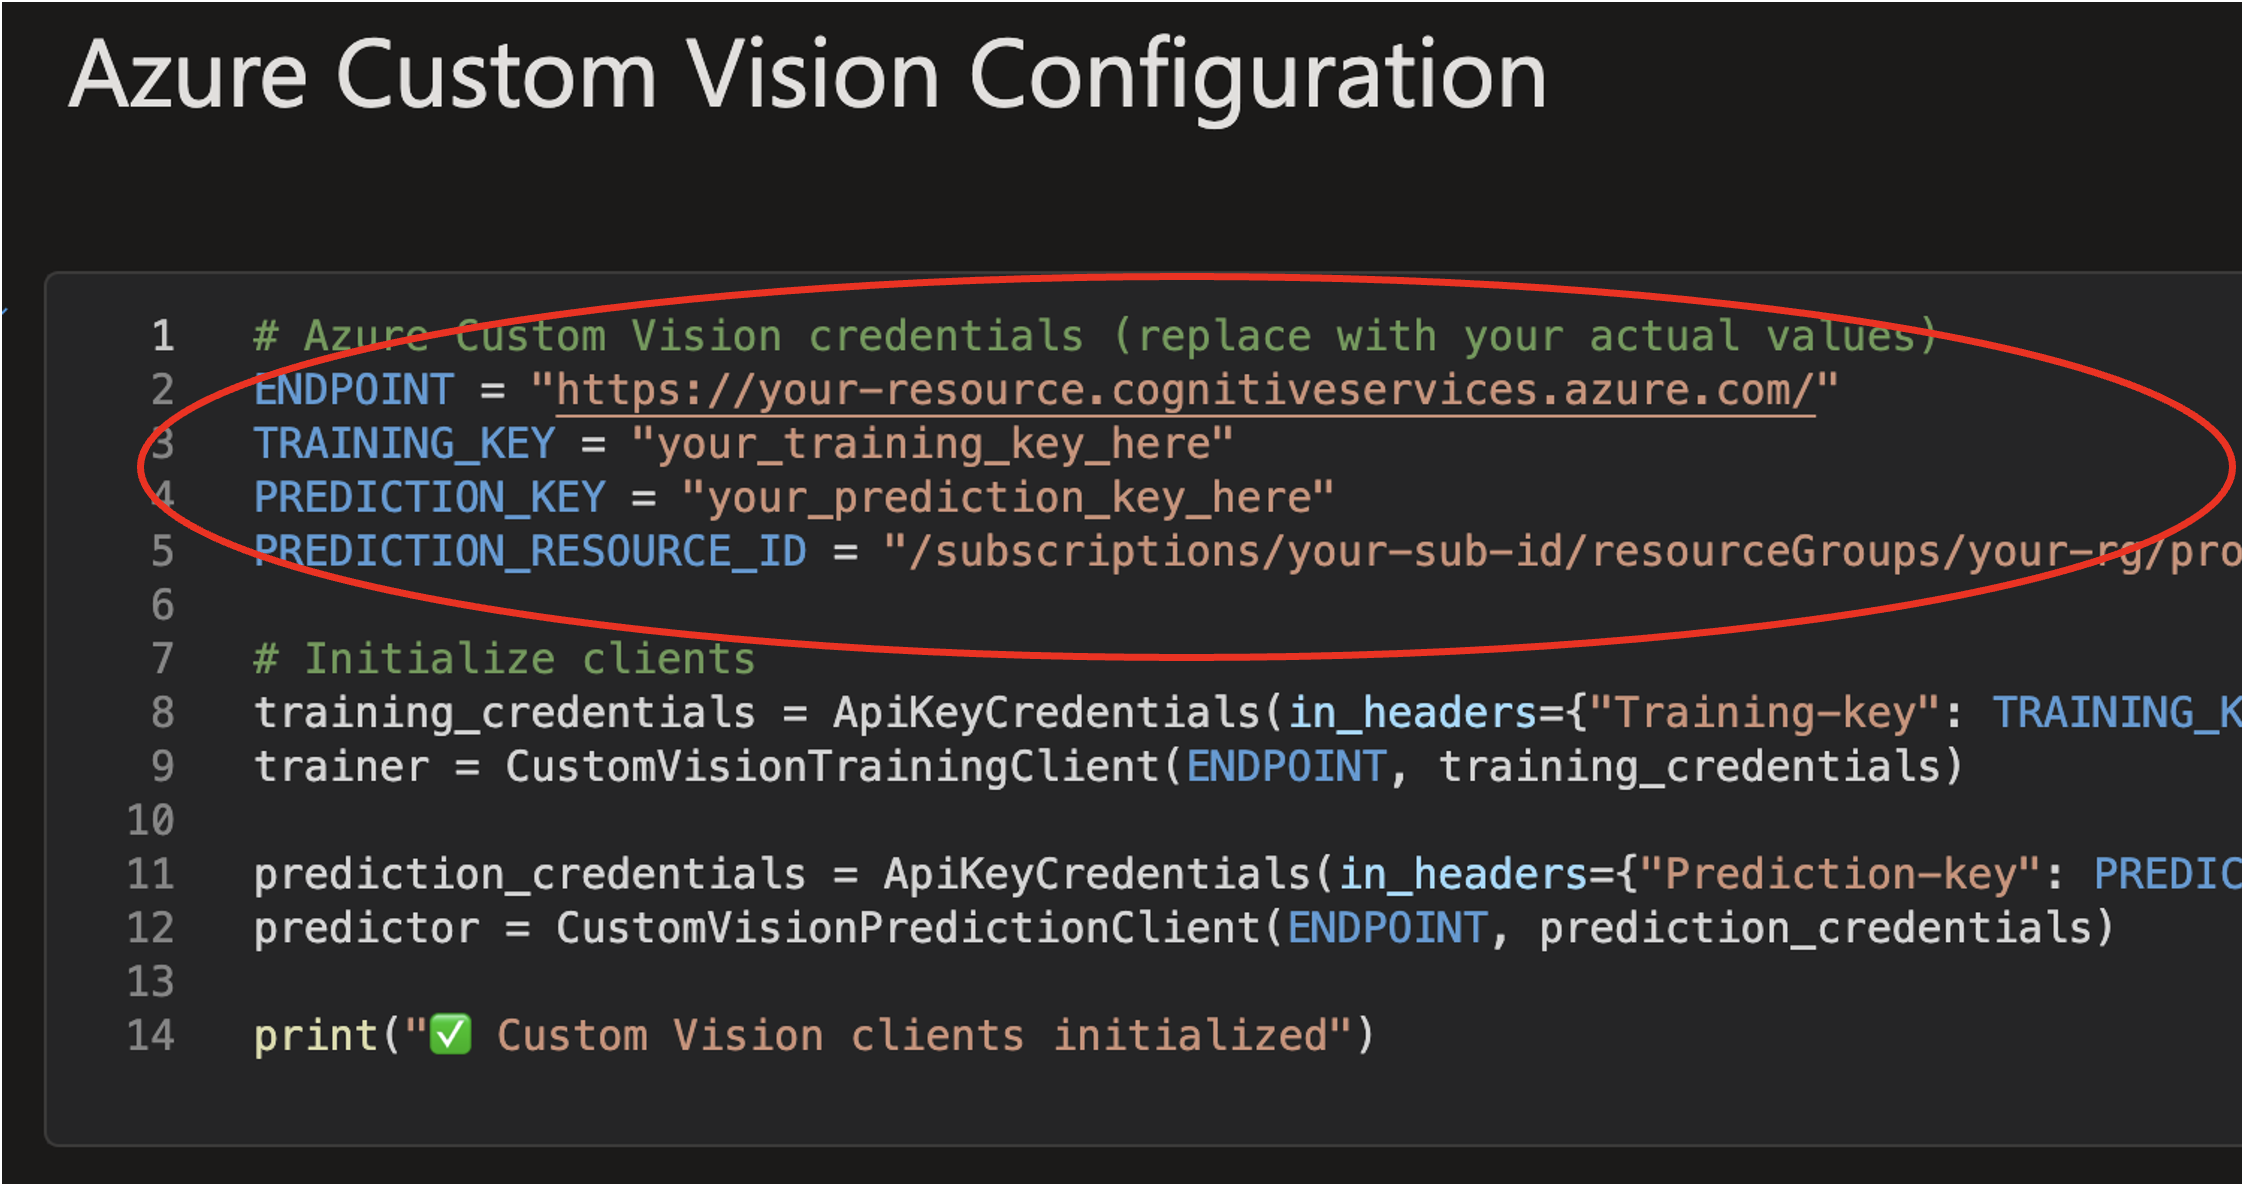
Azure Custom Vision Configuration cell showing where to enter your credentials
Working with the Notebook
From this point onwards in this section of this resource, you can move fully to Azure ML. The Jupyter Notebook contains full instruction and code on how to proceed. If you haven't completed the ML Studio module, head to there first for an overview of the ML Studio Platform.